When it comes to garment decoration, using a DTF printer is not just about pressing a button and waiting for the result. The process involves a sequence of carefully planned steps, each of which determines the quality, durability, and consistency of your transfers. This article provides a detailed, practical workflow for using a DTF printer, covering preparation, operation, troubleshooting, and advanced applications.
Preparing Before Printing
Organizing the Work Environment
Dust, humidity, and temperature changes are often overlooked, yet they can affect print quality significantly. A dusty room can leave small particles on transfer films, which appear as blemishes in the final print. Ideally, work in a clean, climate-controlled space. Avoid direct sunlight, and if possible, install an air purifier.
Gathering Essential Materials
The following items should be within reach before you begin:
-
Transfer films (PET film): Keep them flat and sealed in their package until use. Moisture can cause curling and affect adhesion.
-
DTF inks: White ink tends to settle quickly, so shake the bottle before use. Store them in a cool, dark place.
-
Adhesive powder: Keep it dry, as clumping reduces even coating. A fine mesh sieve can help distribute powder evenly.
-
Heat press machine: Choose one with precise digital controls for both time and temperature.
Software and File Preparation
Your RIP software is the heart of the process. Always export files at 300 dpi resolution for sharpness. Use PNG or TIFF with transparent backgrounds to avoid unwanted edges. Convert text to curves before importing to prevent font issues. For vibrant results, work in RGB mode and let the RIP software handle CMYK conversion.
Setting Up the Printer
- Printer Calibration
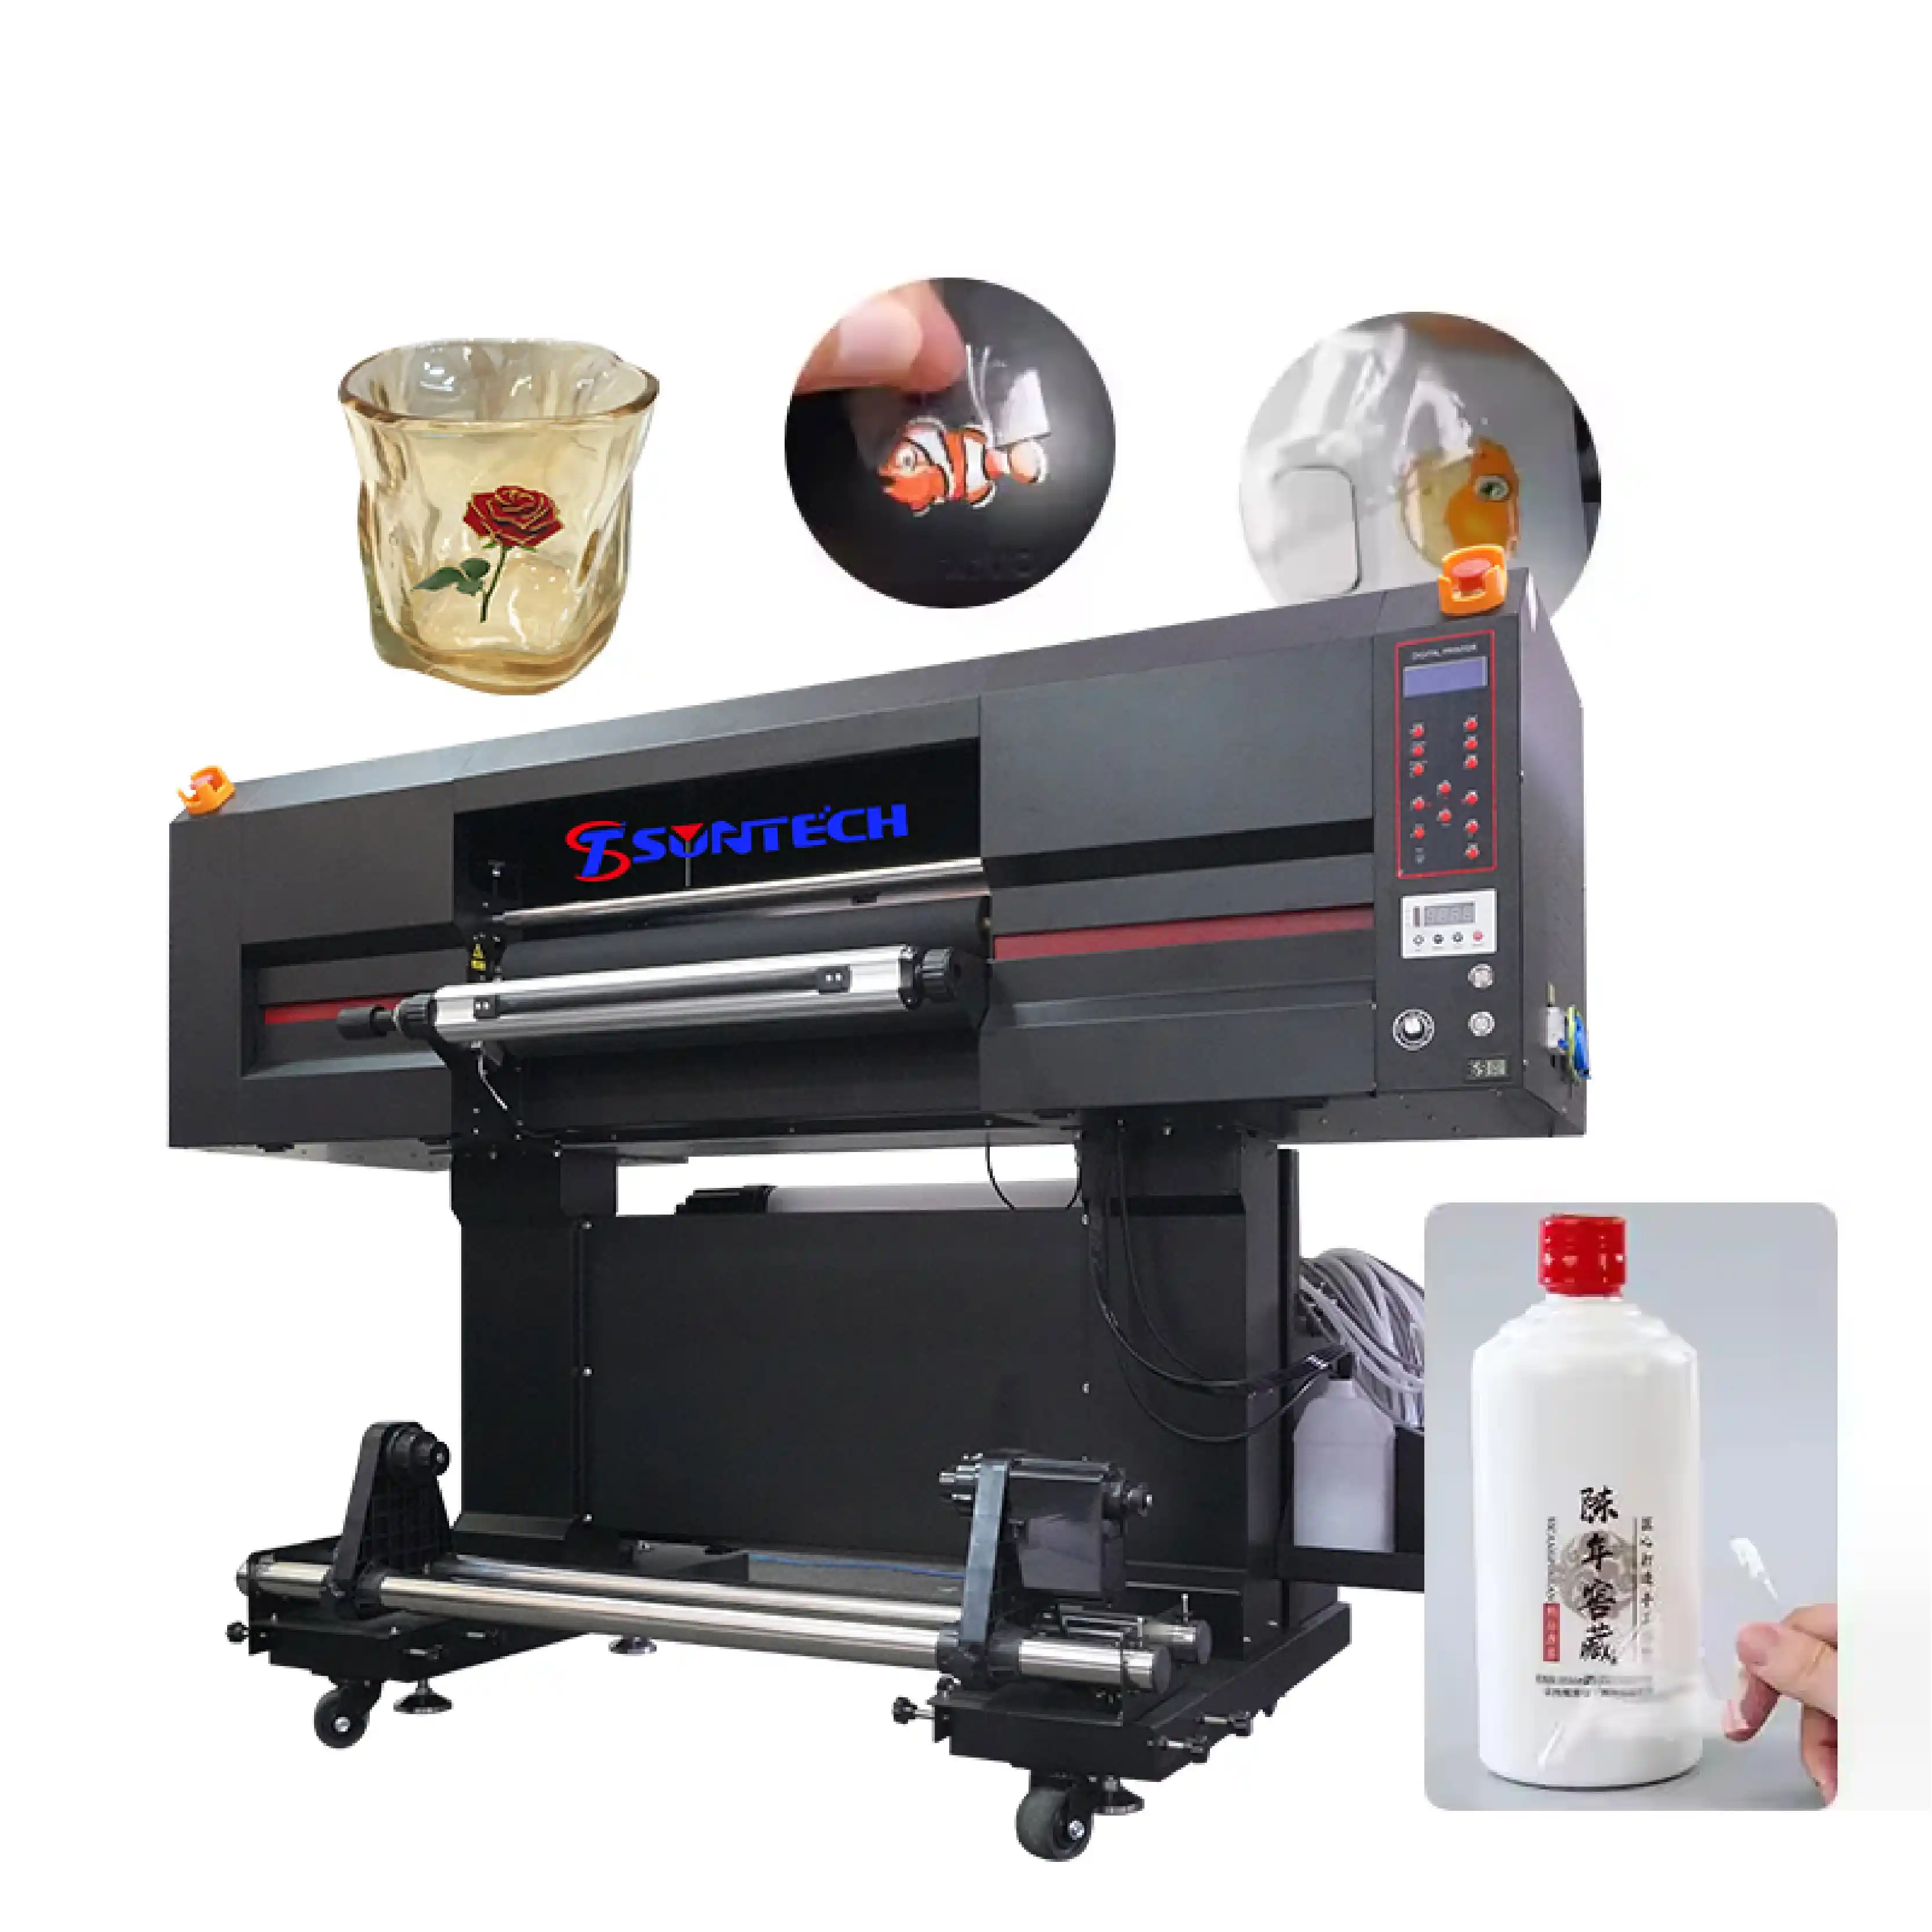
Run a nozzle check before every print session. A clean, complete test pattern ensures that all nozzles are firing. If gaps appear, perform head cleaning. Sometimes multiple cleanings are necessary, especially for white ink. Also, adjust the head height—too low can cause smudging, while too high reduces color accuracy. - Adjusting Print Parameters
Experiment with print modes. For intricate designs, use high-resolution modes with a slower speed. For bulk orders, a standard mode balances speed and quality. Ink density should also be adjusted to avoid oversaturation. As a rule, start low and gradually increase until colors look rich but not sticky. - Choosing the Right Film
PET films differ in thickness and finish. Glossy films can make colors pop, but are prone to fingerprints, while matte films reduce glare and provide a softer look. Some films are designed for hot peel while others for cold peel—choose based on your production style.
Printing Process
Importing the File
Load your file into the RIP software and set up layers correctly. The white ink underbase is essential for opacity. Without it, colors may appear washed out, especially on dark fabrics. Ensure the white layer is slightly larger (by about 1 pixel) than the color layer to prevent visible gaps.
White and Color Layer Printing
The usual order is:
-
White ink layer
-
Color ink layer
Some advanced RIP settings allow printing simultaneously, but sequential layering often provides sharper edges.
Powder Application
Immediately after printing, apply adhesive powder while the ink is still wet. For small batches, sprinkle powder manually over a tray, tilt gently to cover all areas, and tap off excess. For large-scale production, an automatic powder shaker ensures consistency and reduces waste.
Pro tip: Inspect the powder coverage under bright light. Uneven areas often lead to poor adhesion later.
Heat Transfer Process
Powder Curing
Curing is where many beginners struggle. If the powder is undercured, it won’t stick properly; if overcured, it becomes brittle. Use an oven or heat press in hover mode without pressure. Keep the temperature between 150–160°C for 2–3 minutes until the powder turns from a grainy texture to a glossy, smooth layer.
Pressing Onto Fabric
Set your heat press to about 160–170°C with medium pressure. Press for 15–20 seconds. Adjust according to fabric type:
-
Cotton: Requires slightly higher temperature and pressure for better penetration.
-
Polyester: Use lower settings to avoid scorching or dye migration.
-
Blends: Medium settings usually work well.
-
Denim or canvas: Longer pressing times ensure stronger adhesion.
Peeling the Film
Whether you peel hot or cold depends on the film type. Hot peel saves time but requires precise timing. Cold peel offers higher reliability and fewer defects. If the transfer lifts at the edges, press again for 5–10 seconds with added pressure.
Tips for Better Results
-
Fabric preparation: Pre-press garments for 5 seconds to remove moisture and wrinkles.
-
Color management: Use ICC profiles specific to your ink and film combination. This prevents unexpected color shifts.
-
Batch printing: Arrange multiple designs on one sheet to save film.
-
Ink maintenance: Agitate white ink cartridges gently every day to prevent settling.
-
Design optimization: Add a thin border or outline to improve visibility on textured fabrics.
Maintenance and Care
Daily Maintenance
-
Run a small test print each morning.
-
Wipe the capping station and wiper blades to prevent dried ink buildup.
-
Shake ink cartridges gently before use.
Weekly Maintenance
-
Perform a deep cleaning of the white ink channel.
-
Inspect the dampers, lines, and print head for clogs.
-
Lubricate moving parts like the carriage rail to reduce friction.
Long-Term Storage
If you won’t use the printer for more than a week, flush the ink system with cleaning solution. Store inks tightly sealed and upright. Keep transfer films in a dry cabinet with silica gel packets to prevent moisture damage.
Common Problems and Solutions
-
Banding or Lines: Caused by clogged nozzles or incorrect head height. Clean and realign.
-
Poor Adhesion: Usually due to uneven powder or low heat press pressure. Re-press with correct settings.
-
Colors Look Faded: Check the curing process, ink density, or expired inks.
-
Film Sticking Too Hard: Switch from hot peel to cold peel or reduce pressure slightly.
-
Design Washes Out After Laundry: Ensure correct curing temperature and adequate adhesive powder coverage.
Advanced Applications
- Printing on Different Materials
Beyond T-shirts, DTF transfers can be applied to hoodies, tote bags, shoes, caps, leather patches, and even wood panels. For non-fabric surfaces, use a pre-coating spray for better adhesion. - Scaling for Production
Manual methods are fine for hobbyists or small businesses. For commercial production, automated powder shakers and tunnel dryers streamline the process and reduce labor. This also ensures consistency across large orders. - Combining with Other Techniques
Pair DTF prints with embroidery for a layered look, or use them alongside screen printing for hybrid designs. This can increase the perceived value of your products and allow creative differentiation in the market.
Learning how to use a DTF printer effectively is about mastering a workflow, not just a machine. Every stage—preparation, printing, curing, and pressing—affects the outcome. By maintaining your printer, fine-tuning your settings, and applying best practices for different fabrics, you can consistently produce vibrant, durable, and professional-grade prints.
For hobbyists, this opens the door to personalized projects. For business owners, it creates opportunities for scalable production with minimal waste. The more time you invest in refining your process, the more efficient and profitable your printing operation will become.

